Ever wondered how you can make the most of a client meeting?
By meeting more clients in the same vicinity!
Of course, meeting 4 clients in a day is always better than meeting just a single client.
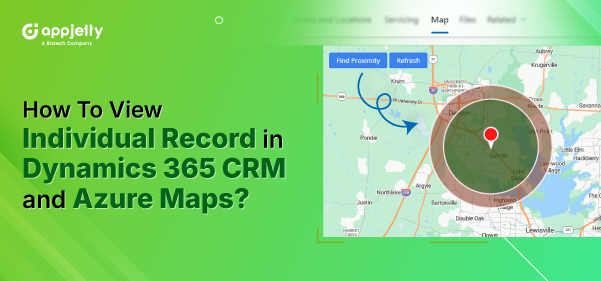
In this article, we are going to demonstrate how you can easily find your contacts or records near a particular record using the Dynamics 365 mapping tool.
We’ve used MappyField 365 for this demonstration, but you can always browse through the MS AppSource to find the right map integration for your business.
Here’s how you can:
– Find entity details by navigating to any specific entity
– Find the individual map using MappyField 365
– Perform a proximity search based on the record’s location on the map
Step 1: Navigate to MappyField 365
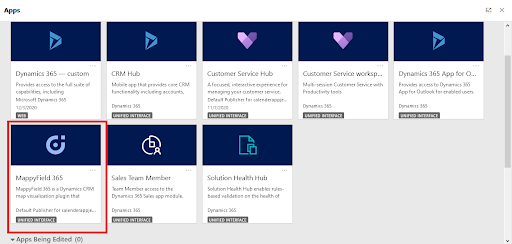
After logging into Dynamics 365, click on ‘MappyField 365’ from the Dynamics 365 Apps dashboard.
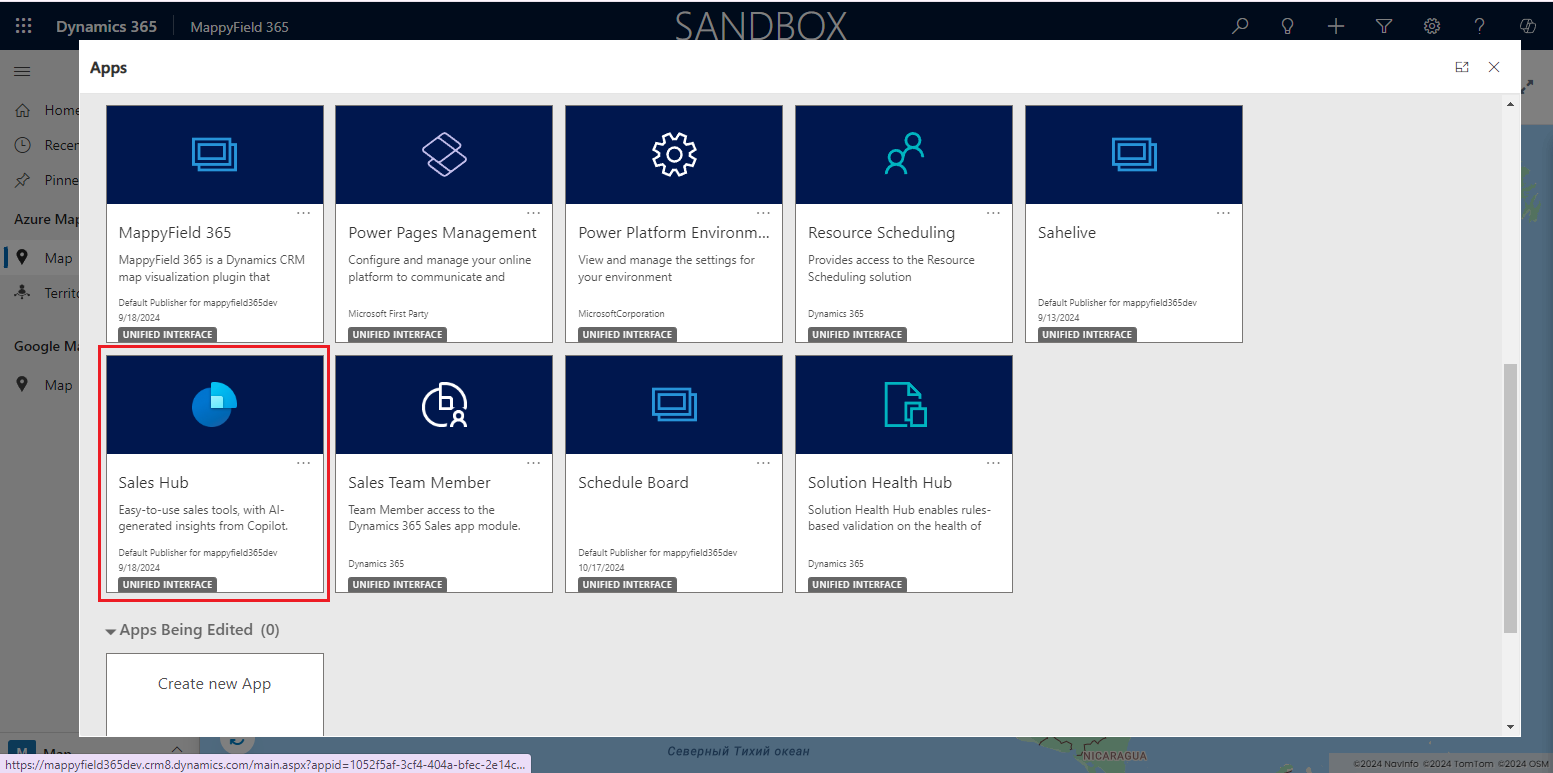
Step 2: Navigate to a specific Entity record Navigate to the Sales Hub.
From the MappyField 365 left panel, click on the entity for which you want to check and manage the individual map. In this case, the Account entity is selected.
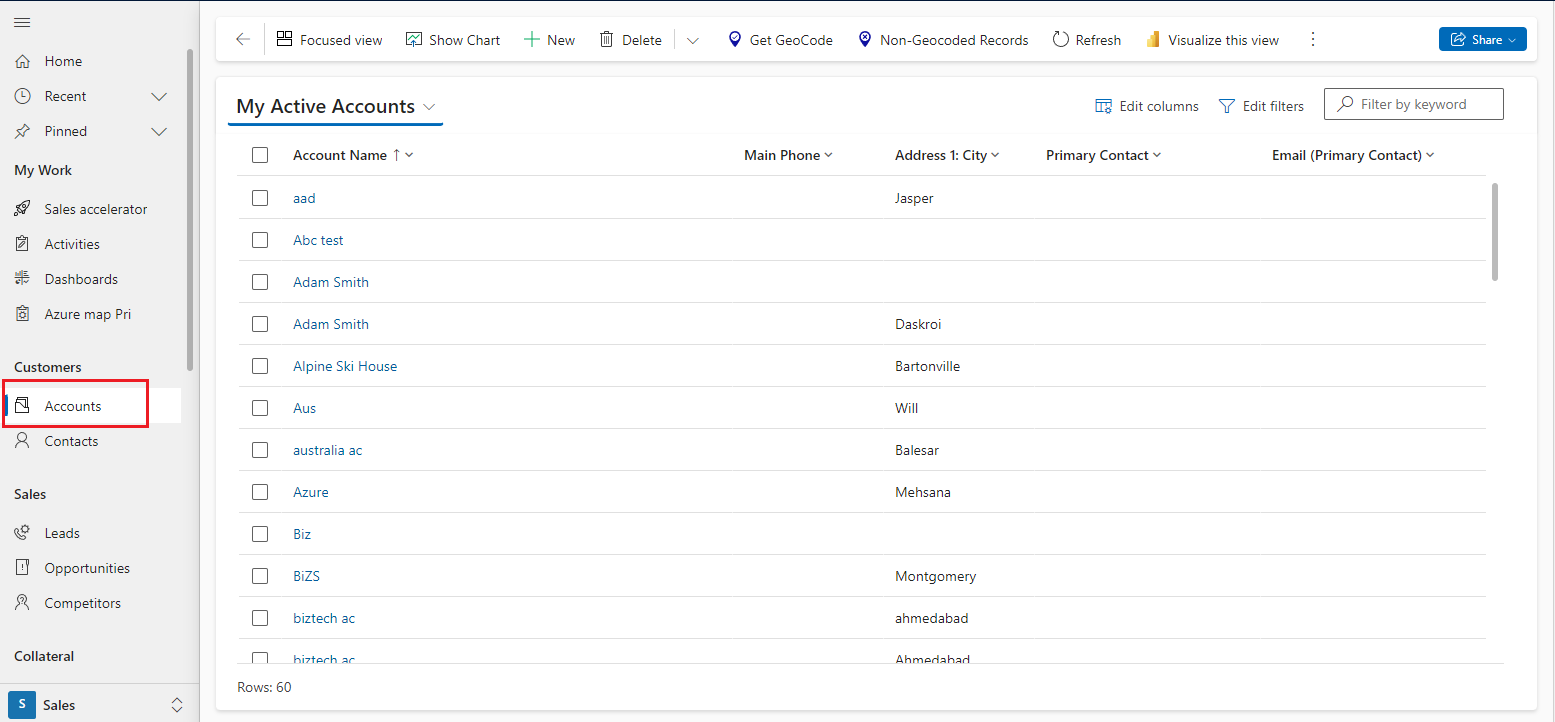
After selecting a record, you will be navigated to its detail page. On that detail page, you will find the Map tab, from where you can view the individual record map. The default location on the map will be shown according to the geocode (latitude and longitude).
Here, you can see the individual map for the record of Alpine Ski House.
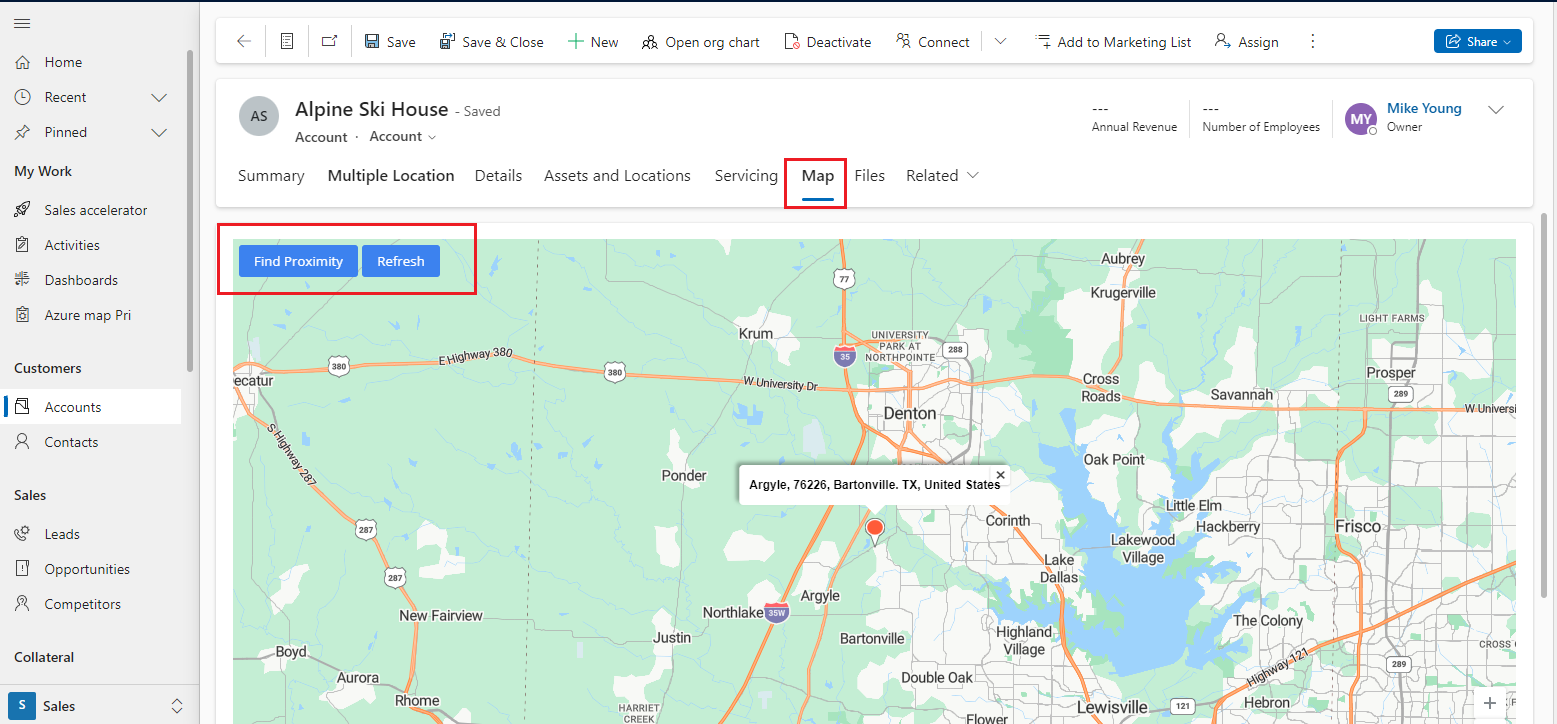
You can also drag the selected record’s pushpin on the map to make changes to its address. The coordinate values (latitude and longitude) will be updated, and by clicking the Save button, the new latitude and longitude will be saved in the record.
Step 3: Perform Proximity Search As a sales or area manager, you can perform Proximity Search operations from the individual map.
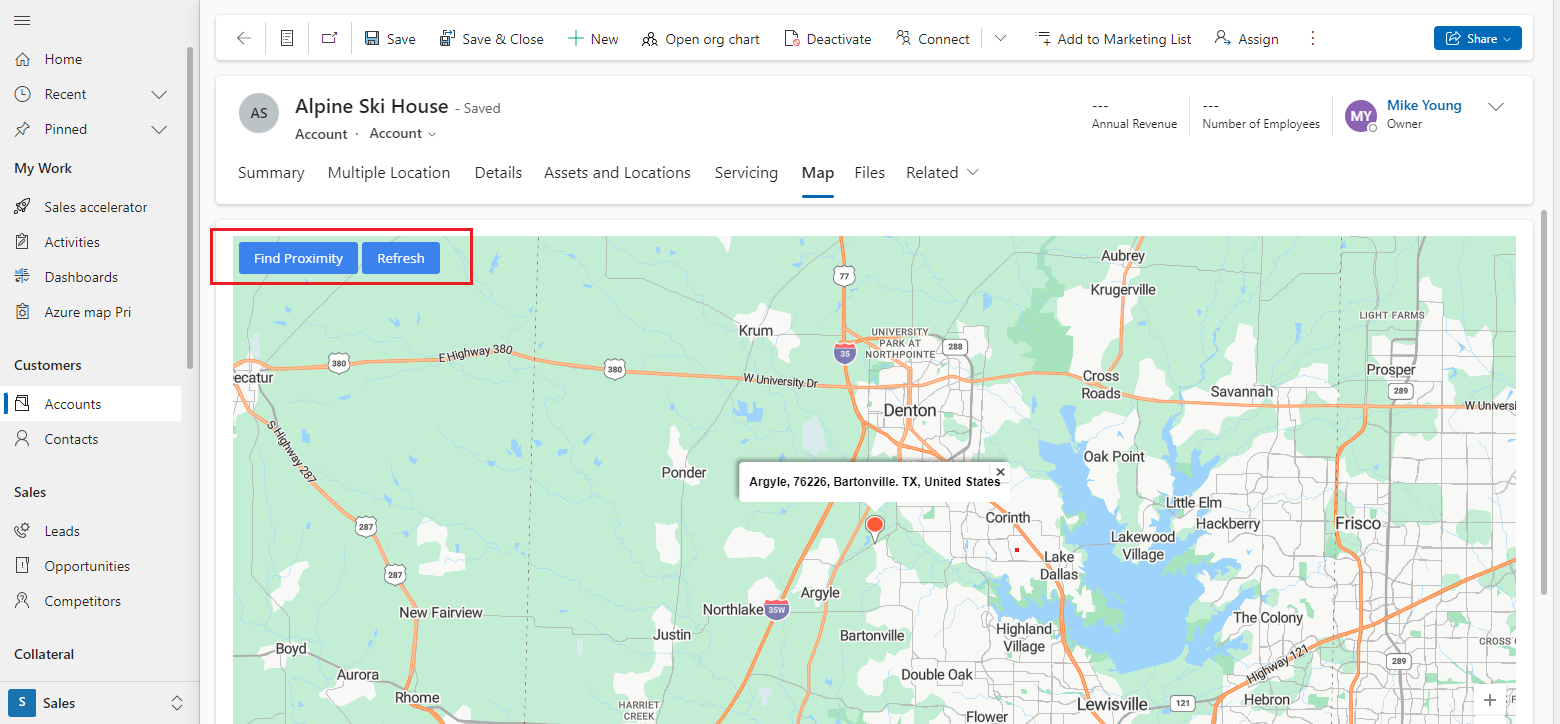
Proximity Search: Search for nearby records based on time or distance relative to the location of an individual record.
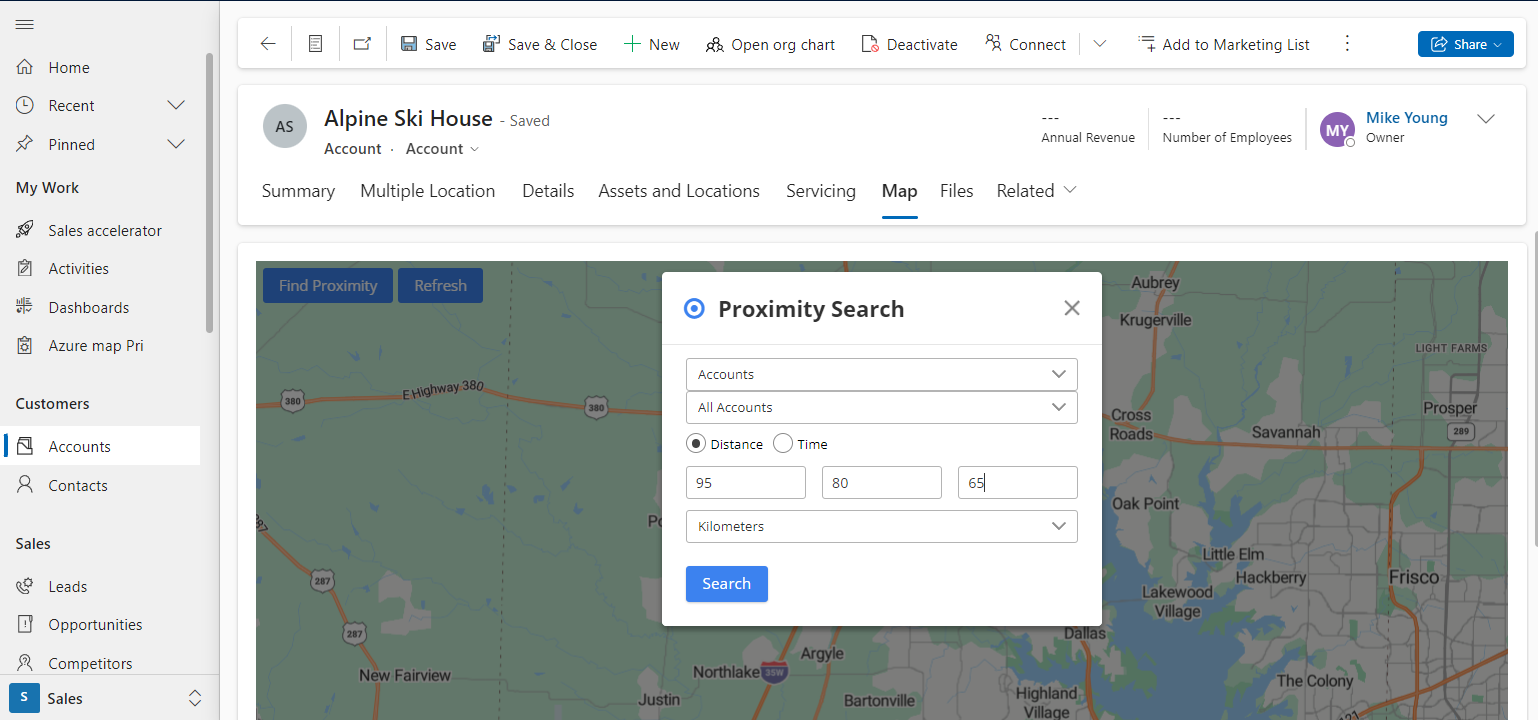
By clicking on the Find Proximity button, a Proximity Search popup will appear.
- Select the Entity and its view to find the records that are in the proximity of individual records.
- Choose the distance/time within which you want to perform the search.
- After selecting and entering the proximity search data, click on the Search button. The system will display all the records that fall within the defined proximity.
MappyField 365 provides a concentric proximity search based on distance with three different values.
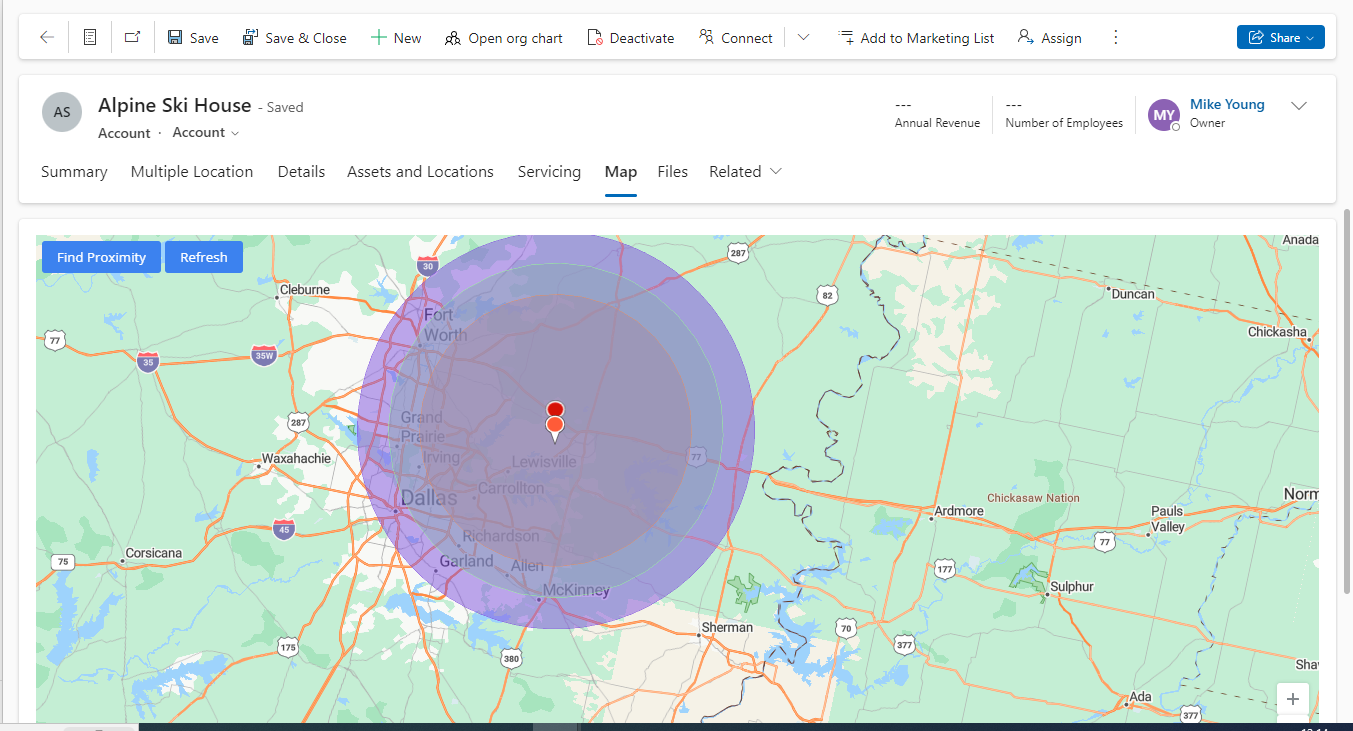
MappyField 365 is fully compatible with the Dynamics 365 mobile application, allowing you to perform these functions on the go.
All product and company names are trademarks™, registered® or copyright© trademarks of their respective holders. Use of them does not imply any affiliation with or endorsement by them.


